OneTrainer Training SDXL LoRas
Posted: 2024-5-28Setting up OneTrainer might seem daunting at first, but most of the settings are already configured for you. Simply prepare your images and metadata, create a concept, and you’ll be training LoRAs like a pro in no time.
Prerequisites
Before you begin, ensure you have:
Preparing Images
First, start collecting images of the subject you want to train. This could be anything from a video game character or a TV movie star to a type of architecture. Then you want to edit the metadata of the images before using them for training.
Things to Consider When Preparing Images for Training
- Image Quality: Avoid low-resolution or pixelated images. Upscaling is not recommended as it can introduce artifacts.
- Cropping: Manually crop each image to ensure they focus solely on the subject, removing any logos, other people, or unnecessary spaces.
- Consistency: Use images that are similar in style and subject matter. Sticking to portraits can provide more consistent training results.
- Minimal Distractions: Avoid images with heavy makeup, excessive jewelry, or unusual poses.
- Hands: Be cautious with images where hands are prominently featured or in awkward positions.
- Orientation Consistency: Check if all images have consistent positioning. Selfies are often inverted, which can lead to inconsistencies. The human face is not symmetrical, and mixed side orientations during training may produce undesirable results.
Number of Images
- 5 to 10: Your LoRa won’t have much variation but can still work.
- 11 to 20: A good spot. Can generate a solid LoRa.
- 21 to 50: Ideal range. This is what we want for a well-trained model.
- 51 to 100: A bit excessive, but works when you want to mix portraits and full-body shots.
- More than 100: Likely overkill and not necessary for most purposes.
Datasets
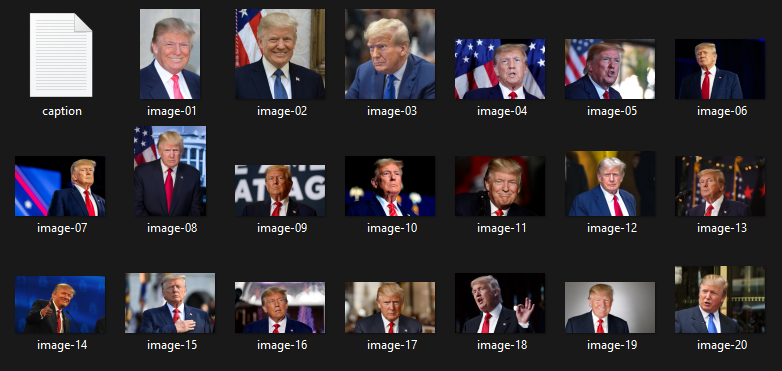
Create a dedicated folder to store all the images you plan to use for training.
D:/
└── datasets/
    └── projectName/
        └── images/
Captions
You can create a text file with the same name as each image. For this demo, I’m creating a single text file and using it for all the images during training, since the pictures are all similar in nature.
donald trump, presidential election, suit, tie
Step 1: Launching OneTrainer
To start OneTrainer, run start-ui.bat file. If you see warnings in the terminal, don’t worry—everything should still work fine.
Step 2: General Tab
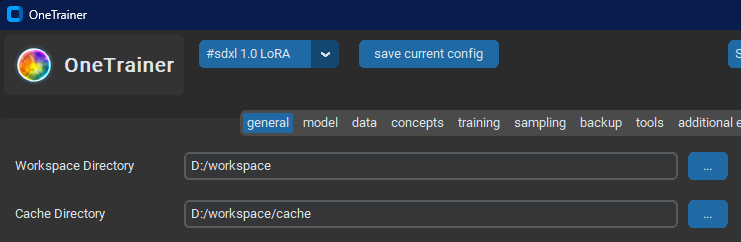
- Create a directory to store all the trained data, so consider using a large storage drive to accommodate the data size. Keep in mind that once you start training, more files will be added to this directory.
D:/
└── workspace/
    └── cache/
-
In the upper left corner, near the OneTrainer logo you’ll find a dropdown menu. Click on it and select
#sdxl 1.0 LoRafrom the list. -
Under the general tab change the
Workspace Directoryto your preferred location. -
Set the
Cache Directoryto the same path to ensure all files are stored on the same drive. This helps keep your data organized and easily accessible.
Step 3: Model Tab

-
Download the SDXL base model or select another model you would like to train from.
-
Under the “Model Output Destination” section, you can rename the LoRA model or keep the default name. Please note that when the model is created, it will be saved in the OneTrainer model folder.
Step 4 Concepts Tab
Click the “add concept” button and then double-click the newly created concept that was created. This will open the concept in a new popup window.
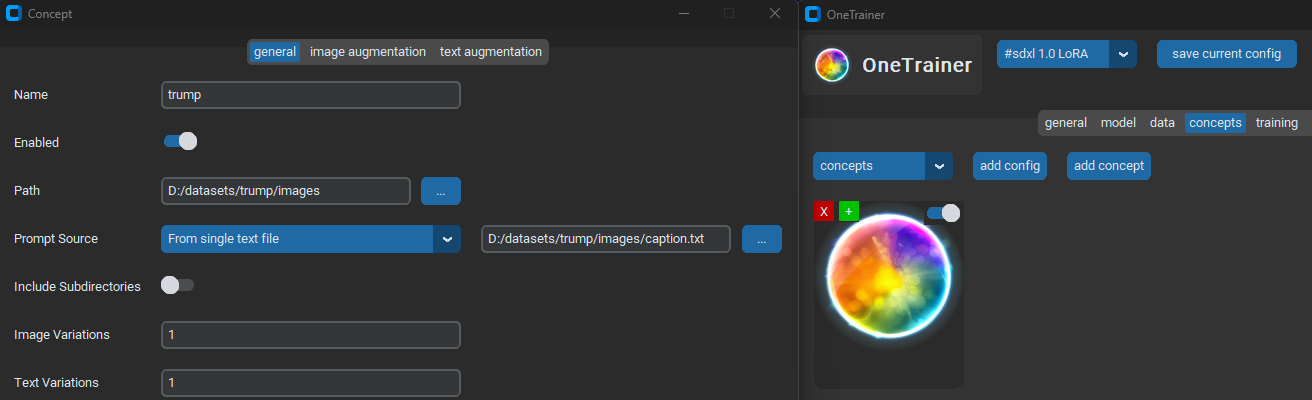
- Name the concept
- Under Path click the 3
...and select where the images are located. - Change Prompt Source to
From single text
Image Augmentation Tab
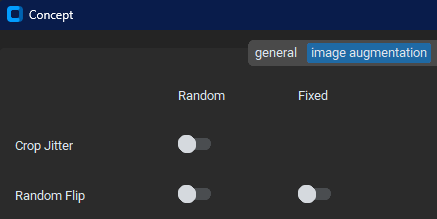
- Optional, but I turned off Crop Jitter and Random Flip in the image augmentation tab.
Step 5 backup Tab
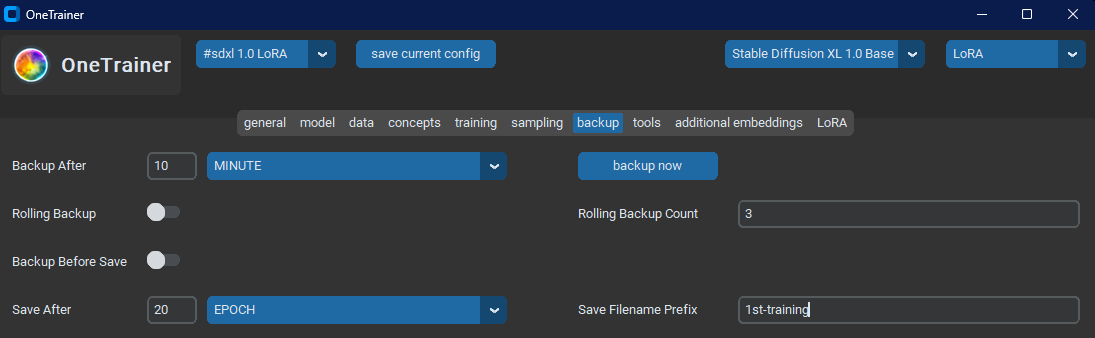
- Lastly type in
1st-trainingin theSave Filename Prefix - Change
Save Afterto save every 20 EPOCH.
Start Training
If you made it this far, give yourself a pat on the back. Now you’re ready to click Start Training, and hopefully, everything goes smoothly as it begins downloading the necessary resources. Remember to check the terminal for the training process. Please ensure you have an active internet connection, as it’s essential for downloading the tokenizer JSON and text files.
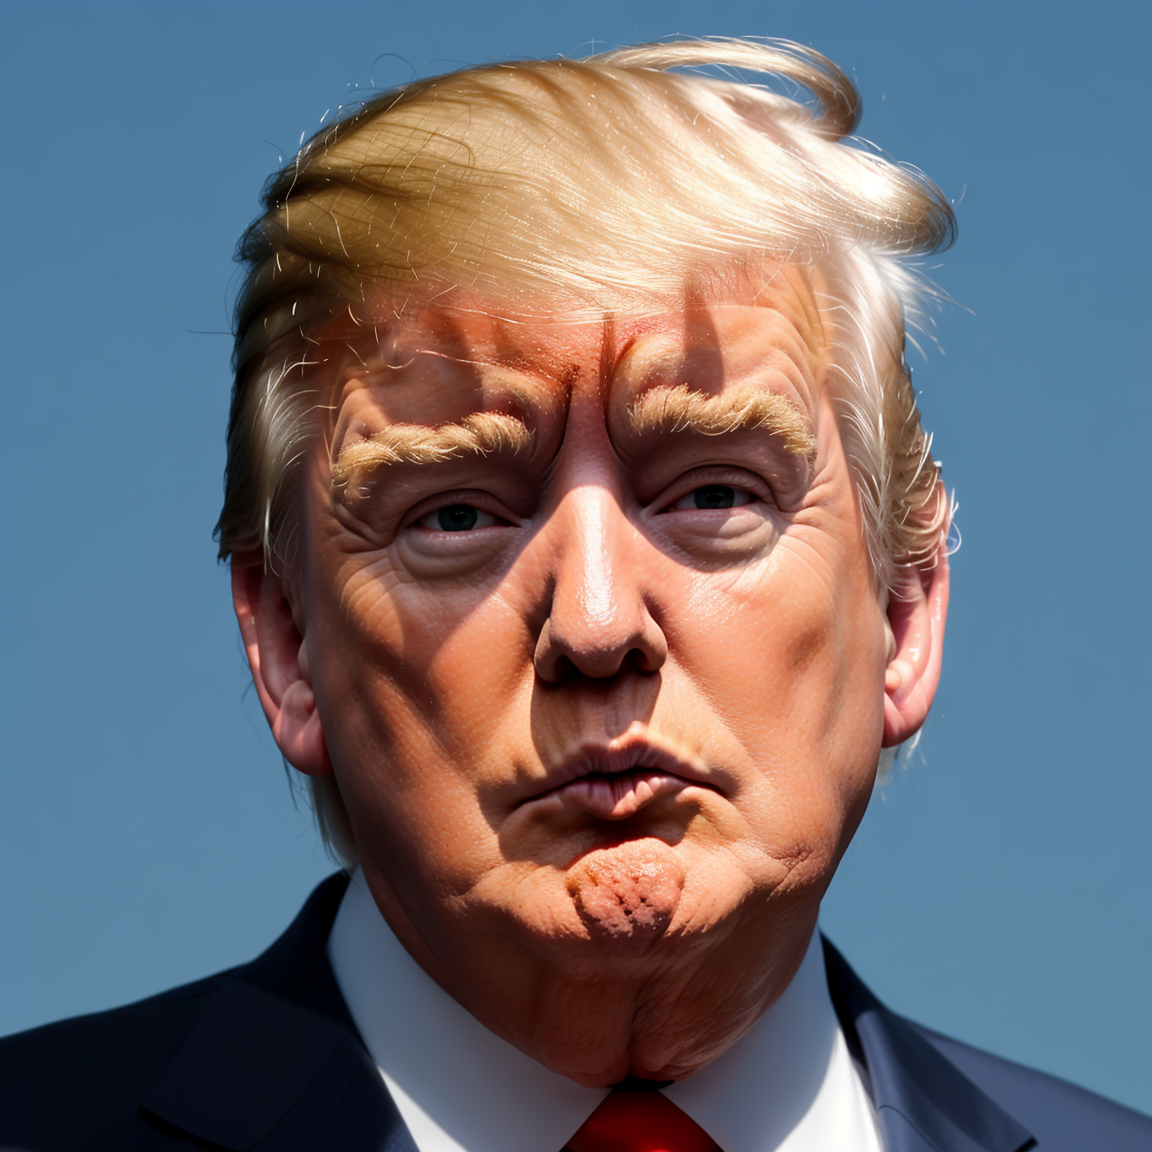
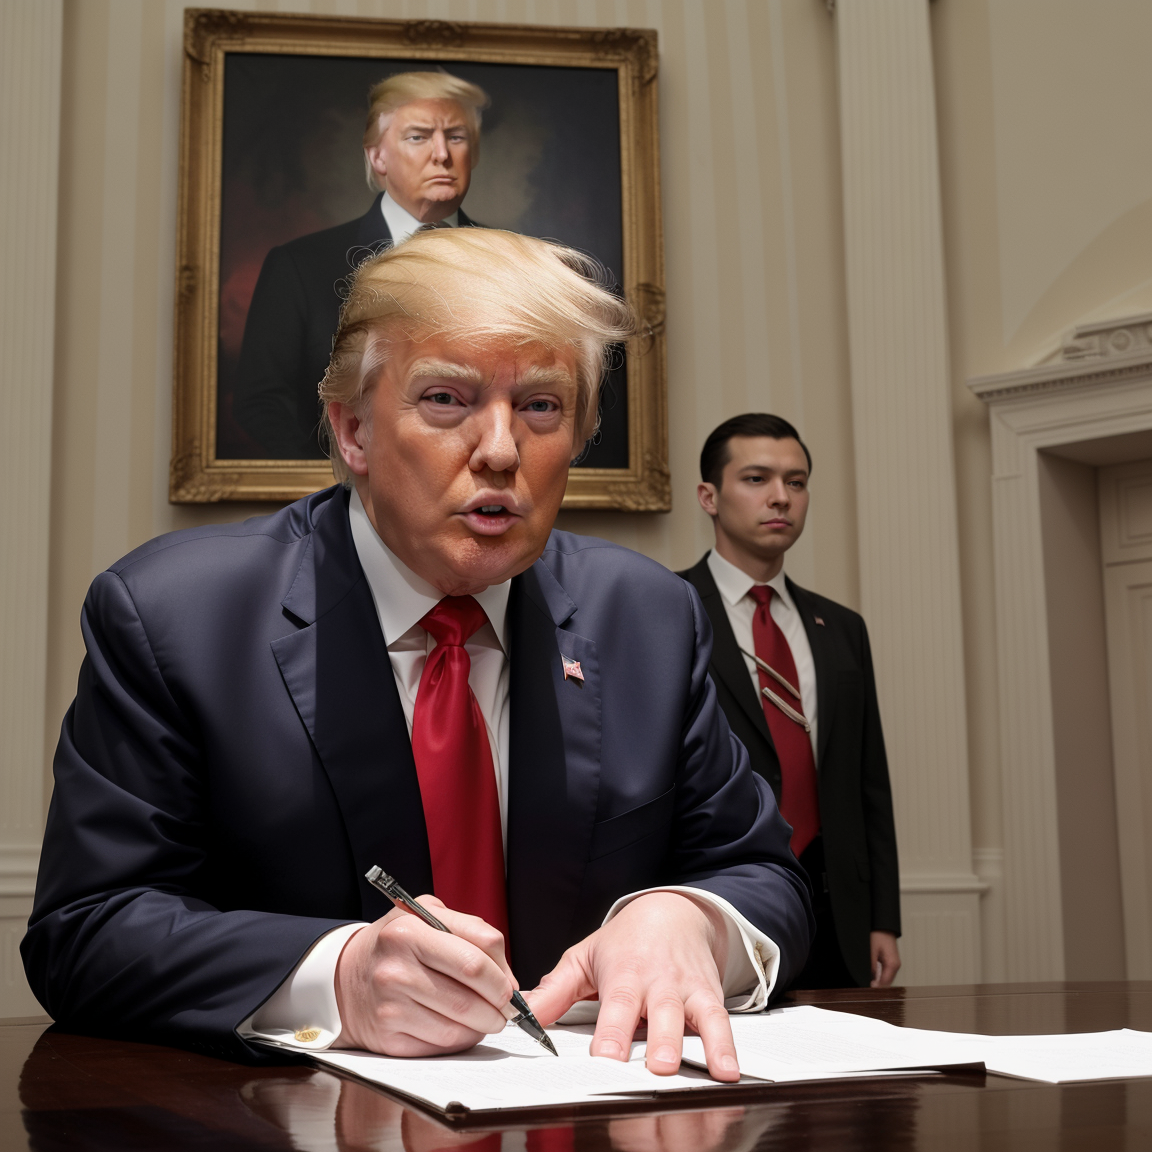
LoRA Output
Here’s a couple of results generated with the newly created LoRA. Not bad, considering the images were hastily chosen from Google Images. I just wanted to demonstrate that it can be done with virtually anyone.